Digital multimeters (DMMs) come in two primary types: auto-ranging and manual-ranging. Auto-ranging offers convenience, while manual-ranging provides control and precision for experienced users.
What is a Multimeter?
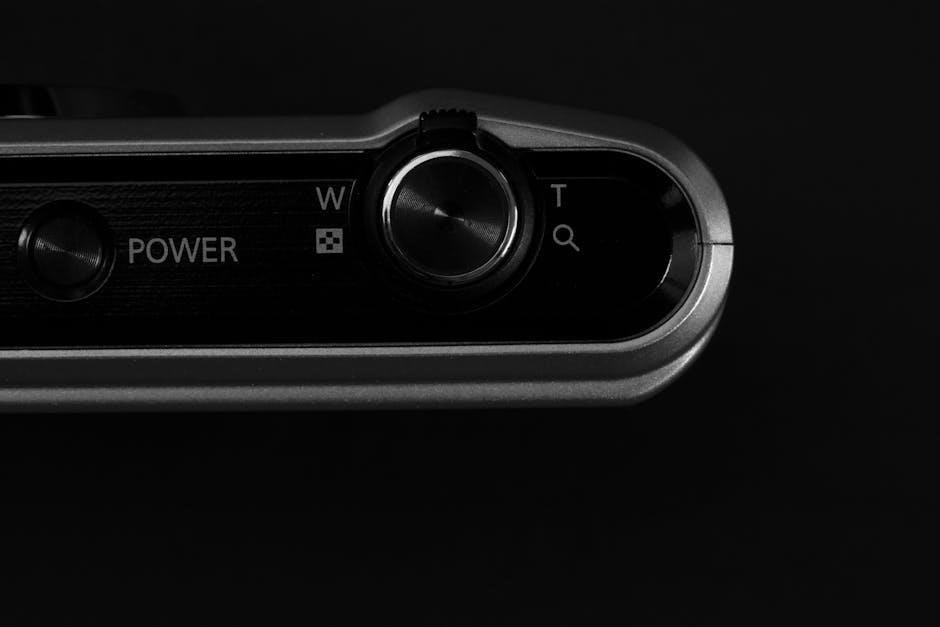
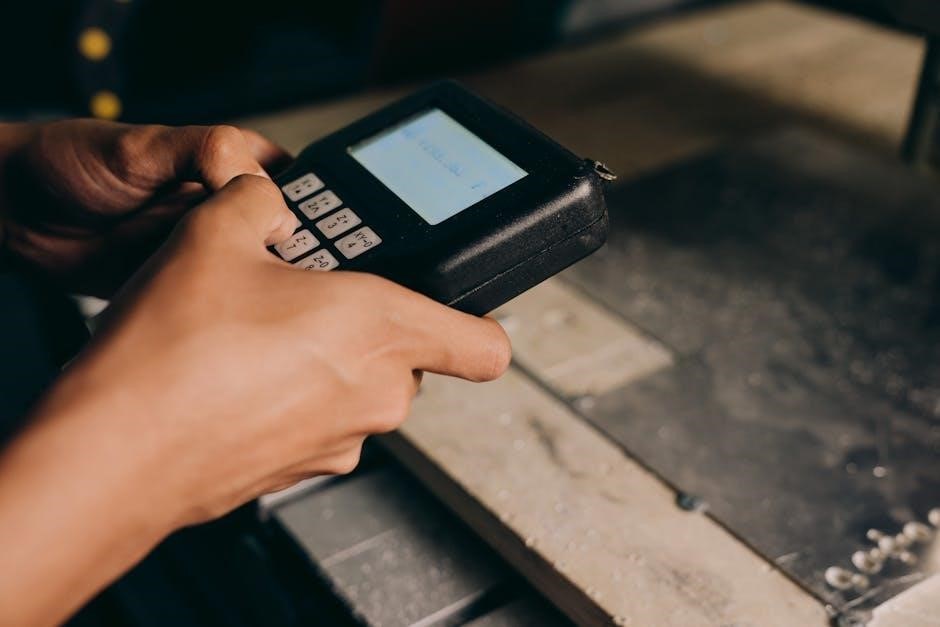
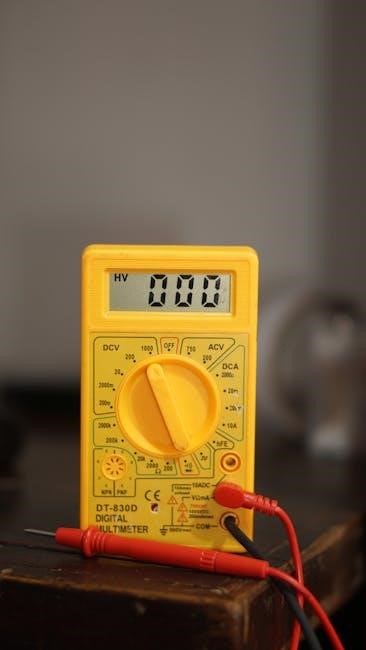
A multimeter is an essential electronic testing tool, capable of measuring multiple electrical characteristics. Primarily, it measures voltage, current, and resistance, but many models also include functions like continuity testing, diode checks, and capacitance measurement. These versatile devices are indispensable for electricians, electronics enthusiasts, and anyone involved in circuit design or repair.
Essentially, a multimeter acts as a central hub for diagnosing electrical issues. It allows users to understand how electricity flows within a circuit, identify potential problems, and verify the functionality of components. Whether troubleshooting a household appliance or working on complex electronic systems, a multimeter provides critical insights into electrical performance. Choosing between auto-ranging and manual models depends on user expertise and application needs.
The Core Difference: Range Selection
The fundamental distinction between auto-ranging and manual-ranging multimeters lies in how the measurement range is determined. Manual-ranging multimeters require the user to select the appropriate range for the expected value – for example, 200mV, 2V, or 200V for voltage measurements. This demands prior knowledge of the circuit and potential readings.
Auto-ranging multimeters, conversely, automatically detect the correct range. They analyze the input signal and adjust accordingly, eliminating the need for manual selection. This feature offers convenience and protects against overload damage from incorrect range choices. While accuracy remains consistent once the range is set (or auto-selected), the speed of stabilization differs between the two types.
Auto-Ranging Multimeters: Convenience and Ease
Auto-ranging multimeters simplify testing with automatic range detection, making them user-friendly for beginners and ideal for quick field measurements and instant identification.
How Auto-Ranging Works
Auto-ranging multimeters eliminate the need for manual selection of the measurement range. Instead of the user choosing settings like 200mV, 2V, or 20V, the multimeter intelligently determines the appropriate range for the input signal.
This is achieved through internal circuitry that continuously monitors the input voltage or current. When the signal exceeds the current range’s capacity, the multimeter automatically switches to a higher range. This process happens seamlessly and rapidly, ensuring accurate readings without user intervention.
Essentially, the auto-ranging function selects the optimal range, mirroring what a skilled user would do manually, but with speed and convenience. The accuracy remains consistent, as it defaults to the same range a manual selection would provide, like 10mA for an 8mA input.
Benefits of Auto-Ranging Multimeters
Auto-ranging multimeters offer significant advantages, particularly for beginners and those needing quick measurements. Their primary benefit is user-friendliness; no range selection is required, simplifying the testing process. This also provides protection against overload damage, as the meter automatically adjusts to prevent exceeding its limits.
They are ideal for field tests and situations where the input signal is unknown or fluctuating. The automatic detection of the correct range saves time and reduces the potential for errors. Visually, they often present a cleaner, more modern appearance compared to manual-ranging models.
While a slight delay exists during range stabilization, the convenience and ease of use generally outweigh this minor drawback.
Drawbacks of Auto-Ranging Multimeters
Despite their convenience, auto-ranging multimeters aren’t without limitations. A key drawback is a slight delay in stabilizing readings as the meter automatically adjusts its range. While often negligible, this can be noticeable when measuring rapidly changing signals.
Although accuracy is comparable when stabilized, some users prefer the direct control offered by manual ranging. The automatic range selection process can sometimes feel less precise, even if the final result is the same.
Furthermore, while generally durable, some argue that auto-ranging mechanisms add complexity, potentially impacting long-term reliability compared to simpler, manual designs.
Auto-Ranging: Speed and Stabilization
Auto-ranging multimeters prioritize user-friendliness, but their speed isn’t always instantaneous. While they quickly identify the correct range for a measurement, a fraction of a second is required for the reading to stabilize after each range change. This stabilization time is a trade-off for the convenience of automatic selection.
The automatic process ensures accurate readings, but it isn’t as immediate as a manually selected, pre-defined range. For static measurements, this delay is often unnoticeable. However, when monitoring fluctuating signals, the slight pause could impact capturing precise peak or transient values.
Ultimately, stabilization is key to accuracy.
Manual-Ranging Multimeters: Control and Precision
Manual-ranging multimeters empower users with direct control over the measurement range, resulting in faster response times and potentially higher precision when used correctly.
How Manual-Ranging Works
Manual-ranging multimeters require the operator to actively select the appropriate measurement range before taking a reading. This is achieved through a rotary dial featuring various scales – for example, 200mV, 2V, 20V, and 200V for voltage measurements.
The user must estimate the expected value of the quantity being measured and choose a range that is higher than that estimate, but not excessively high. If the measured value exceeds the selected range, the multimeter will typically display an overload indication.
Consequently, the user must then increase the range and repeat the measurement. This process demands a basic understanding of the circuit or component being tested and the expected values. Selecting the correct range is crucial for obtaining accurate and meaningful results.
Advantages of Manual-Ranging Multimeters
Manual-ranging multimeters offer distinct advantages, primarily centered around control and precision. They generally provide a faster response time compared to auto-ranging models, as there’s no delay associated with the meter automatically selecting a range. This speed is beneficial in dynamic circuits.
Furthermore, experienced users often appreciate the greater control over the measurement process. Manual selection allows for focused readings and can enhance accuracy when dealing with specific applications.
Importantly, manual meters are typically more affordable and demonstrate increased durability, making them a robust choice for demanding environments. They are often favored by professionals who prioritize control and longevity.
Disadvantages of Manual-Ranging Multimeters
Manual-ranging multimeters, while offering precision, present certain drawbacks. The primary disadvantage is the requirement for the user to possess a good understanding of the circuit being tested to select the appropriate range. Incorrect range selection can lead to inaccurate readings or even damage to the meter from overload.
This manual process is inherently slower than auto-ranging, making them less ideal for quick field tests or situations requiring rapid measurements. The dials, often crowded with numbers, can appear less intuitive to beginners.
Ultimately, the added complexity and potential for user error make manual-ranging meters less user-friendly compared to their auto-ranging counterparts.
Manual-Ranging: Accuracy and Control
Manual-ranging multimeters excel in providing users with a high degree of control over the measurement process. By manually selecting the range, technicians can optimize for accuracy, particularly when dealing with signals of known approximate values. The accuracy remains consistent, as the auto-range would select the same range anyway.
This direct control also translates to faster response times, as the meter doesn’t need to spend a fraction of a second stabilizing after automatically adjusting the range. Experienced users often prefer this responsiveness.
Despite the learning curve, manual ranging offers a level of precision and immediate feedback that auto-ranging sometimes lacks.

Cost Comparison: Auto-Ranging vs. Manual
Generally, manual-ranging multimeters are more affordable than auto-ranging models. However, some UNI-T manual models are currently priced higher than their auto-ranging counterparts.
Typical Price Ranges for Auto-Ranging Models
As of March 15, 2026, auto-ranging digital multimeters exhibit a varied price spectrum, catering to diverse budgets and feature requirements. Entry-level options, such as the UNI-T UT136B, are typically available for around $19.53, making them accessible for beginners and hobbyists. A slightly more advanced model, the UNI-T UT136A, can be found for approximately $18.90, offering similar functionality at a competitive price point.
Stepping up in price, the Vichy VC97 generally retails for around $25.85, while the Vichy VC99, with potentially enhanced features, is priced at approximately $32.98. At the higher end of the auto-ranging spectrum, the YH-113 model commands a price of around $42.64, suggesting a more robust build quality or additional capabilities.
These prices are subject to change based on retailer and promotions.
Typical Price Ranges for Manual-Ranging Models
Determining the price range for manual-ranging multimeters proves challenging as specific models weren’t directly detailed in the provided information. However, the text indicates that UNI-T offers manual-range multimeters, and these are often more expensive than their auto-ranging counterparts. This suggests a potential starting price slightly above the $18.90 ー $19.53 range seen in the UT136 series.
Generally, manual-ranging models, due to their construction and focus on precision, can range from approximately $20 to $60+, depending on brand, features, and build quality. More professional-grade manual multimeters, while not explicitly mentioned, could exceed this upper limit.
The affordability of manual meters is a noted advantage, but the provided data doesn’t offer precise pricing for comparison.

Durability and Build Quality
Manual meters are generally considered more durable than auto-ranging types. This robustness, coupled with simpler internal components, often translates to a longer lifespan.
Auto-Ranging Multimeter Durability
Auto-ranging multimeters, while convenient, often prioritize features over extreme ruggedness. Their internal circuitry, designed for automatic range selection, can be more complex than manual counterparts. This complexity can introduce more potential points of failure, potentially impacting long-term durability.
However, modern auto-ranging models from reputable brands are improving in build quality. Many incorporate protective features like overload protection, safeguarding against damage from incorrect range settings. While not typically as robust as basic manual meters, they are generally sufficient for most hobbyist and professional applications where careful handling is practiced. The “cleaner” and “smarter” aesthetic sometimes comes at the cost of ultimate toughness.
Manual-Ranging Multimeter Durability
Manual-ranging multimeters generally boast superior durability due to their simpler internal design. Fewer components mean fewer potential failure points, contributing to a longer lifespan, especially in demanding environments. Their construction often prioritizes robustness, with sturdy dials and housings designed to withstand regular use and occasional drops.
Historically, manual meters have been favored for their resilience. They often lack the delicate circuitry found in auto-ranging models, making them less susceptible to damage from voltage spikes or rough handling. While modern auto-ranging units are improving, manual meters frequently remain the more affordable and durable option, particularly for those needing a reliable tool in harsh conditions. Their “old-school” design often equates to lasting quality.

Popular Models: A Brief Overview (as of 03/15/2026)
Popular choices include the UNI-T UT136B/A, Vichy VC97/VC99, and the YH-113. UNI-T offers both auto-ranging and manual options, catering to diverse user preferences.
UNI-T UT136B & UT136A
The UNI-T UT136B and UT136A are highly regarded auto-ranging digital multimeters, frequently recommended for their balance of features and affordability. Currently priced around $19.53 and $18.90 respectively (as of March 15, 2026), they represent excellent value for hobbyists and professionals alike.
Both models offer automatic range selection, simplifying measurements and reducing the chance of overload damage. They are user-friendly, making them ideal for beginners or quick field tests. While the UT136B appears to be slightly more feature-rich, the core functionality remains consistent between the two.
Users appreciate their compact size and clear displays. These multimeters are capable of measuring voltage, current, resistance, and continuity, covering a wide range of electrical testing needs. They are a popular choice for those seeking a reliable auto-ranging DMM without the expense of a Fluke instrument.
Vichy VC97 & VC99
The Vichy VC97 and VC99 are auto-ranging multimeters positioned as alternatives within the budget-friendly DMM market. As of March 15, 2026, the VC97 is available for approximately $25.85, while the VC99 is priced around $32.98. These models share the convenience of automatic range selection, simplifying the measurement process for users of all skill levels.
Like the UNI-T options, they offer protection against overload damage due to incorrect range settings. While potentially offering a slightly different feature set or build quality compared to UNI-T, they remain popular choices for those seeking a cost-effective auto-ranging solution.
Users should compare specifications carefully to determine which model best suits their specific needs. Both are capable of performing standard electrical measurements, making them versatile tools for various applications.
YH-113
The YH-113 represents a more premium option within the discussed auto-ranging multimeters, currently priced around $42.64 as of March 15, 2026. Despite its higher cost compared to the UNI-T UT136 series and the Vichy models, it remains significantly more affordable than professional-grade instruments like Fluke. The YH-113 boasts auto-ranging functionality, providing ease of use and protection against overload damage.
Its appeal lies in potentially offering enhanced build quality or additional features justifying the price difference. While specific details require further investigation, it’s positioned as a step up for users seeking a more robust and reliable auto-ranging DMM without exceeding a strict budget.
Consider its specifications carefully to assess if the added cost aligns with your measurement requirements.

Applications: When to Choose Which Type
Auto-ranging multimeters excel in quick field tests and for beginners, while manual-ranging suits those needing precise control and faster response times.
Best Uses for Auto-Ranging Multimeters
Auto-ranging multimeters are exceptionally well-suited for situations demanding speed and simplicity. Their automatic range selection makes them ideal for technicians performing numerous quick checks across diverse circuits. This feature is particularly beneficial for those less familiar with specific voltage or current levels, eliminating the risk of overload damage from incorrect range settings.
They shine in general-purpose troubleshooting, home electrical repairs, and educational settings where ease of use is paramount. The instant range identification streamlines the measurement process, allowing users to focus on the circuit itself rather than manual adjustments. Furthermore, their user-friendly nature makes them a great choice for hobbyists and those new to electronics.
Essentially, if convenience and a broad range of applications are prioritized, an auto-ranging multimeter is an excellent selection.
Best Uses for Manual-Ranging Multimeters
Manual-ranging multimeters excel in scenarios where precision and control are critical. Experienced technicians and engineers often prefer them for detailed circuit analysis and troubleshooting, as the ability to select the specific range allows for finer adjustments and potentially higher accuracy. The faster response time, compared to auto-ranging models, is advantageous when observing rapidly changing signals.
They are particularly useful when working with sensitive circuits or when a known approximate value of the measurement is already available. This pre-selection minimizes settling time and ensures the most accurate reading. Manual-ranging meters are also favored in environments where durability and a classic, robust build are valued, often proving more resilient in demanding conditions.
Ultimately, for those prioritizing control and accuracy, a manual-ranging multimeter remains a powerful tool.
Making the Right Choice
Selecting between auto-ranging and manual-ranging multimeters depends heavily on your needs and experience level. Auto-ranging models, like the UNI-T UT136B or Vichy VC97, are ideal for beginners, quick field tests, and general-purpose use, offering convenience and overload protection. They provide a cleaner, more modern aesthetic.
However, if precision, control, and speed are paramount, a manual-ranging multimeter is the better choice. While they may appear “old-school,” they offer superior accuracy and faster response times. Considering your budget is also crucial; manual models are often more affordable and durable.
Ultimately, both types are valuable tools, and the “right” choice is the one that best aligns with your specific applications and skill set.